![LOGO_WV-1.png]](https://help.martianlogic.com/hs-fs/hubfs/LOGO_WV-1.png?height=40&name=LOGO_WV-1.png)
What is Collections?
Collections streamlines workforce compliance management by enabling organizations to group employees and automatically apply targeted compliance requirements. By applying targeted filters—such as role, department, or geographic location (e.g., NSW Cleaning Staff)—you can bundle specific compliance items (licenses, certifications, or policy sign-offs) into custom collections. Once assigned, the system automatically tracks and enforces these compliance rules for every employee captured within that collection, ensuring seamless oversight and complete compliance visibility across your entire workforce.
How to Create a Collection:
Step 1.
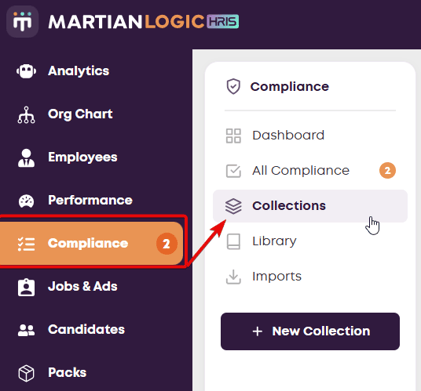
Select 'Collections' from the left hand menu, within the Compliance module
Step 2.
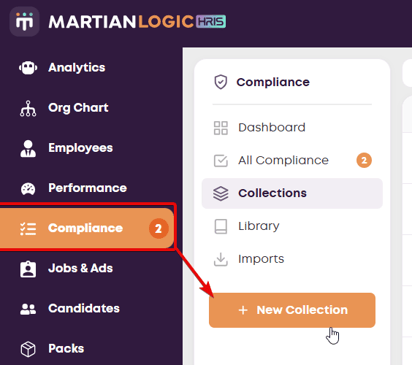
Select 'New Collection'
Step 3.
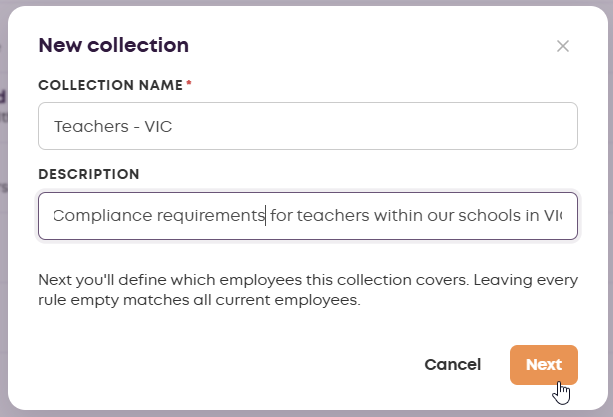
Label and describe your collection e.g. Teachers - VIC or Cleaning Staff NSW. Click 'Next'
Step 4.
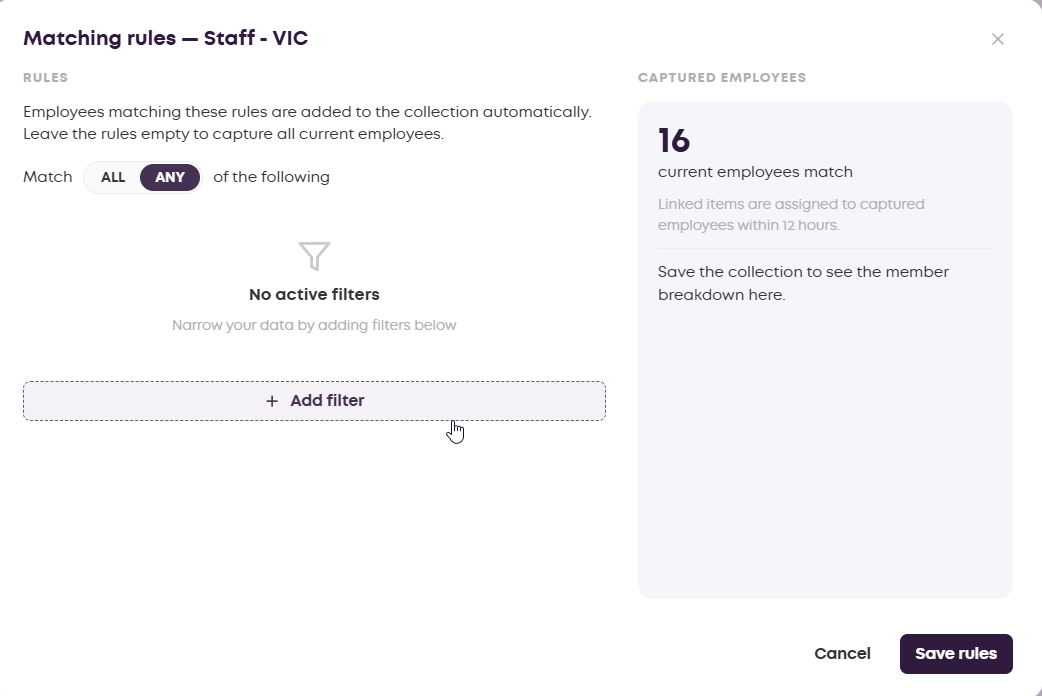
Select 'Add Filter'
Step 5.
Select the filters you'd like to apply to this collection. e.g. if you are attempting to apply compliance rules to all staff, just select roles. However, if your collection has further rules such as different requirements for different groups of staff - layer your filters accordingly. NOTE: You can use more than one filter
- Roles: Filter employees by job titles/their role to automatically apply role-based compliance items, certifications, and required licenses.
- Location: Filter staff by specific physical work addresses, sites, or office locations to apply place-dependent compliance standards. Locations are defined within the Pillars settings.
- Entity (Brand): Group employees based on the legal entity or trading brand they are employed under to enforce entity-specific regulatory requirements. Entity's are defined within the Pillars settings.
- Division: Segment your workforce by major operational divisions to manage distinct compliance frameworks across large organisational units. Divisions are defined within the Pillars settings.
- Department: Categorise team members by functional department to ensure specialised operational rules and certifications are properly tracked. Departments are defined within the Pillars settings.
- Team: Target specific functional units or working groups to streamline day-to-day compliance tracking for cohesive operational units. Teams are defined within the Pillars settings.
- Project: Organise staff assigned to dedicated client, temporary, or cross-functional initiatives to enforce project-specific compliance mandates. Projects are defined within the Pillars settings.
- Region: Group staff by broader geographical areas or state jurisdictions to ensure regional labor laws and state-based compliance standards are met. Regions are defined within the Pillars settings.
Step 6.
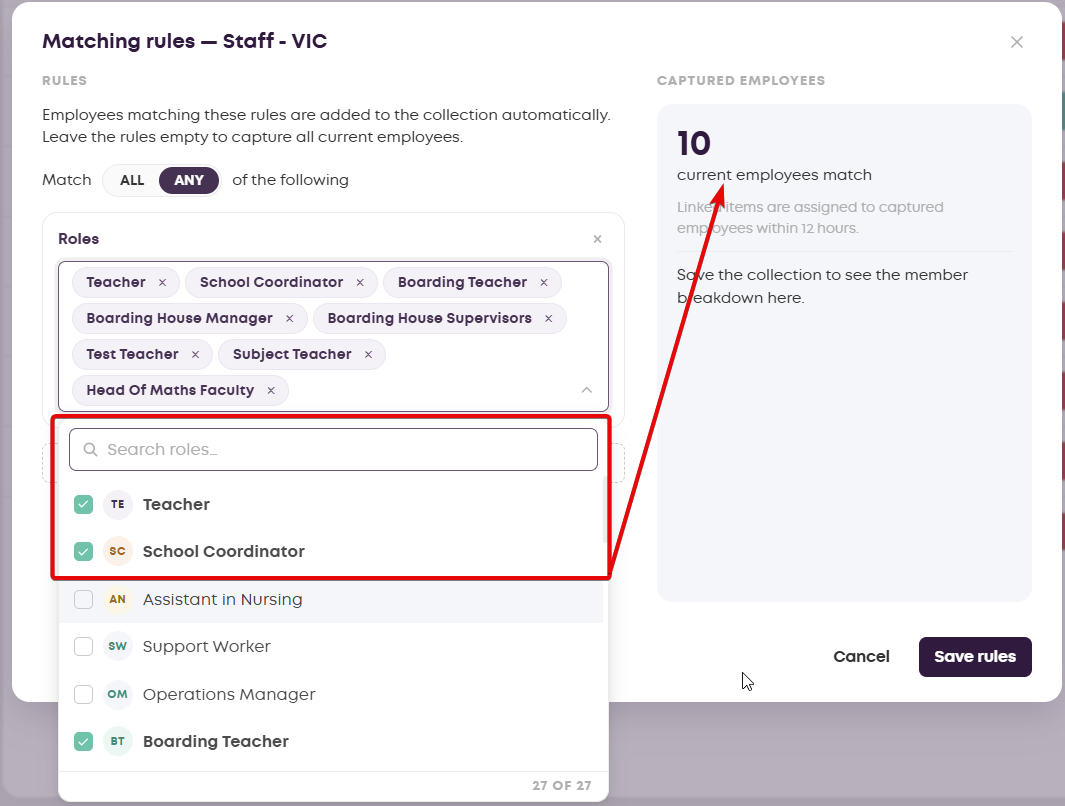
Select the applicable options from your filter drop down. You will notice the matching employee number changing based on your selection, on the right hand side. If this number looks incorrect, you may need to review your Roles library or Pillars set against your employees profiles.
Click out of the menu, and re-click on 'Add Filter' to layer any additional filters. Once you are happy with your selections - Click Save Rules.
Step 7.
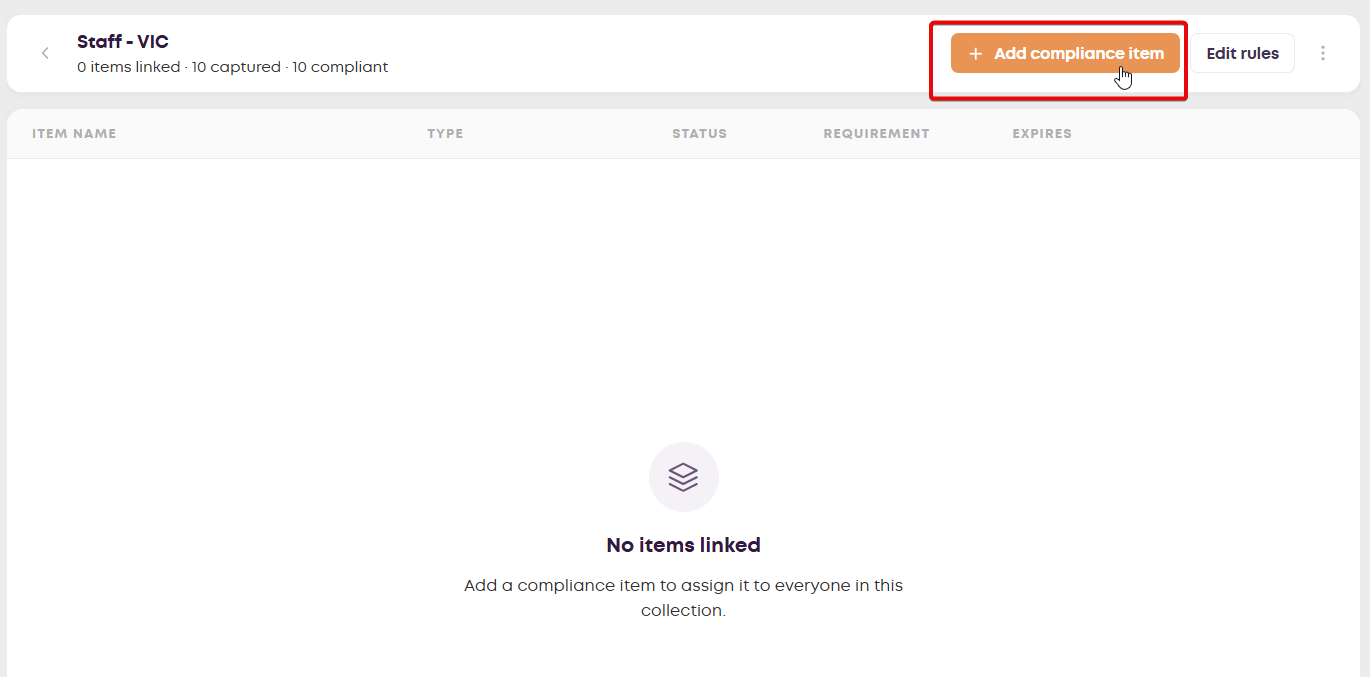
Your blank collections folder will now appear. Select 'Add Compliance Item'
Step 8.
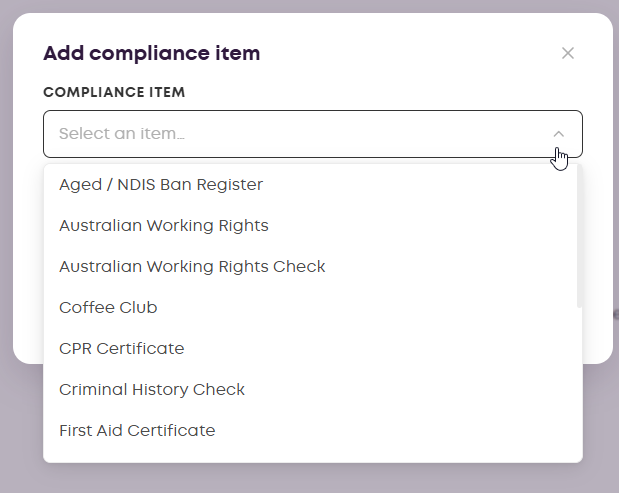
Select the Compliance Items that apply to this collection/group of employees
Step 9.
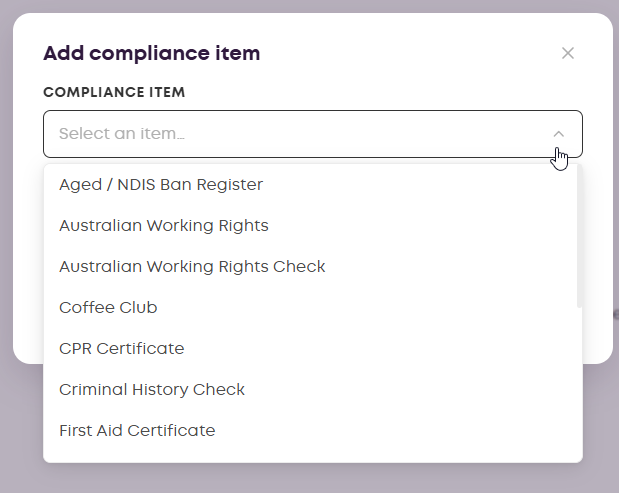
Select each item one by one, ticking or unticking the mandatory box and then selecting 'Add Item'
Step 10
Once you have entered all of your items, the list will begin syncing and assigning to employees matching the collection rules, that haven't already submitted these items. NOTE: This will send emails to employees prompting them to log into their self service portal and submit the item, if they haven't already.
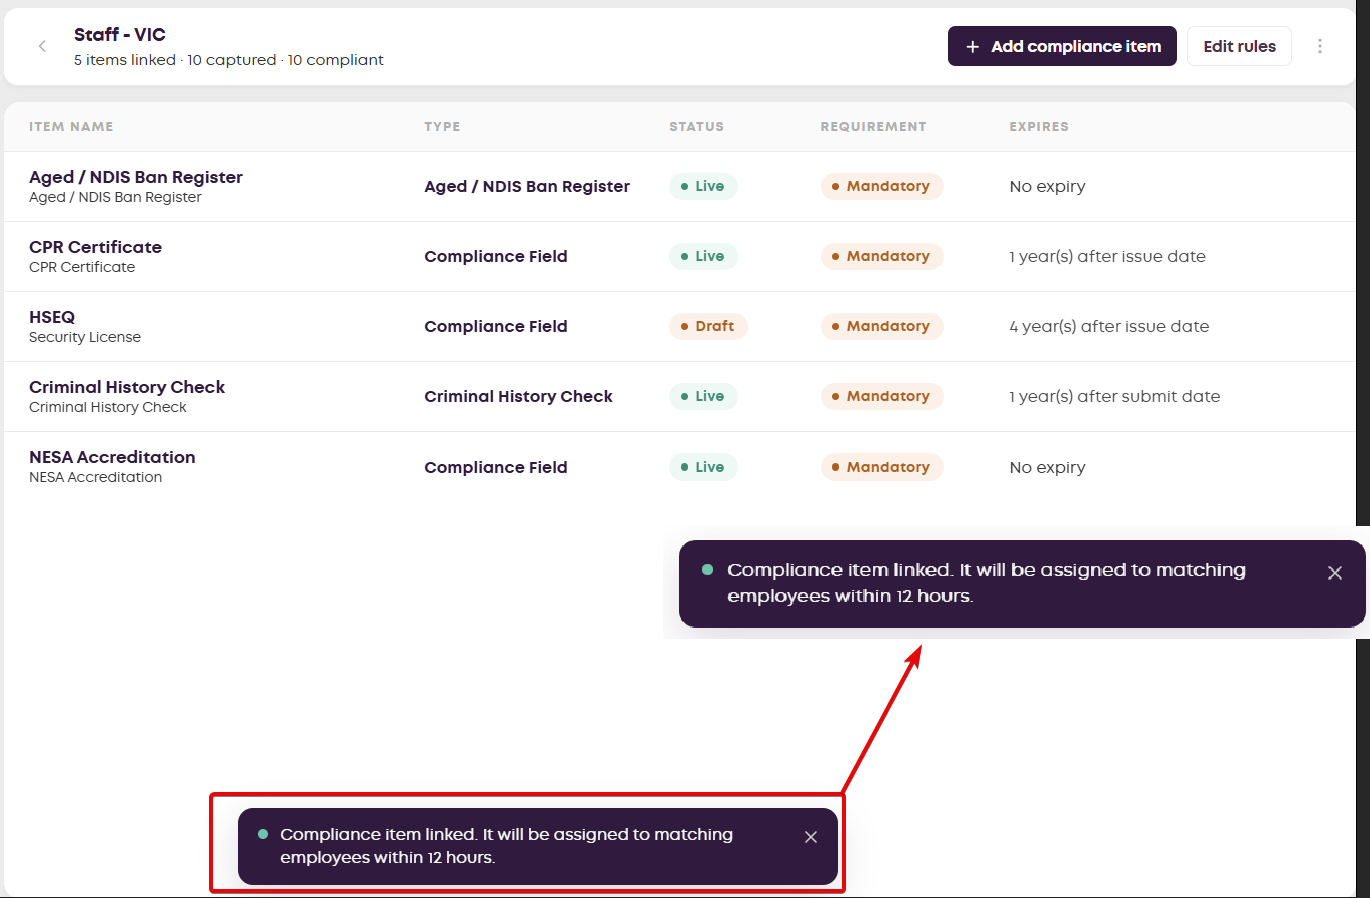
NOTE: If you would like to sync and assign the items immediately, you can do so by selecting 'Sync Now' from the three dots located at the top right.