Part 2 of 2: Creating a workflow. This will include adding automated emails and linking actions to stages.
Recruitment Workflow – Automated emails and Linked Actions to Stages
Once you are done with Part 1: How to create a Recruitment Workflow, we can add automated emails for the candidate to receive should they move to a stage.
Start from the top in progressing stages, the ‘Just Applied’ stage. This first stage is the stage all candidates will come into when they first apply. We can add an auto email to let them know that we have received their application.
To do so, click on the cogwheel icon, then click edit.
 A side window should appear, click on ‘+New Template’.
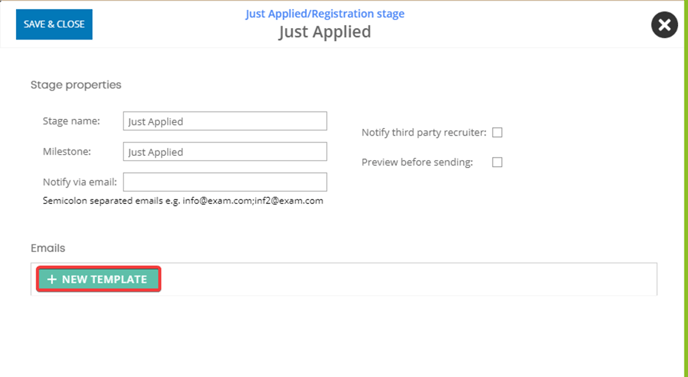
Enter the template name, then enter.

At the top, you can see 4 recipient options, ‘The Candidate’, ‘A User’, ‘Internal Hiring Team’, and ‘hiring Manager’.
![]()
‘The Candidate’ will be the individual that has applied and is always the set default option.
‘A User’ will be a user that uses the Martian Logic, NOT an employee in the system. If you choose this option, you will need to select a user to send this email to.

‘Internal Hiring Team’ will be the people that are part of the team for a job. They are chosen after a job has been created as part of the design tab. Think of it as you having created the job, and you have assigned user A and user B to look after that job. They are the internal hiring team.
‘Hiring Manager’ will be the hiring manager for that job. This individual is chosen when creating the Job Requisition.
You can also CC users who will always be sent this email should you wish to. The subject line can be changed accordingly, and the reply to email is the email you want to receive replies to.

You can change the reply to email to one of the 4 options.

The ‘Generic Recruiter Email’ is the email address used to set up the account.
The ‘Main Contact Email’ is the main contact for the job, chosen in the design tab of the job.
The ‘Logged-In User Email’ is the person who is logged in and has moved a candidate to this stage.
The ‘Hiring Manager’ is the person set during the job requisition creation.
You will notice that there are ‘tags’ we can put into the email.

From the left, ‘My Fields tags’ are tags that are surfaced as part of the candidate/employees profile. This would very rarely be used in these automated emails.
- ‘Eform Tags’ are used to attach a form for the email receiver to complete.
- ‘Field Tags’ are fields that exist in the account, such as name, address, position, etc.
- ‘Tags’ are fields that would be most commonly be used in these automation emails, such as name, surname, ad title, etc.
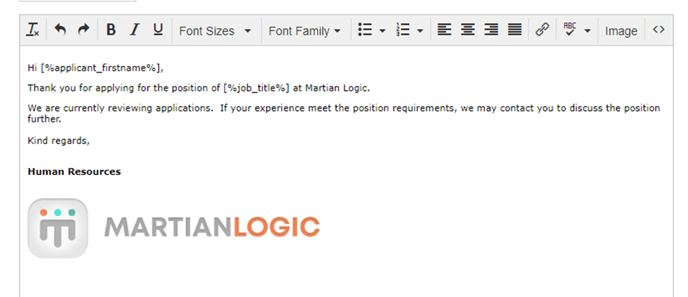
As you start writing your email to the candidate, simply click on the tag type and look for the desired tag to put into the email. In this case of a ‘Just applied’ email to the candidate, we will be using ‘Tags’ and choosing [%applicant_firstname%].

It should look like so:

Continue writing the email using the required tags. It could look something like this:
In this bottom section, you can set the email settings.

‘Auto Send’ means to send the email automatically once a candidate has moved to this stage. In this instance of ‘Just Applied’ if the auto send is ticked, when a candidate finalises their application, they will get this email straight away.
You can also set a delay on when to send this email if you’d like, and if you want this email to be only sent on weekdays (Monday to Friday).
If you tick ‘Confirm email before sending’, when you move a candidate to a stage with this email, a pop up will appear to confirm if you would like to send this email or not.
Repeat this process for the other stages that you would like to send an email to a candidate to.
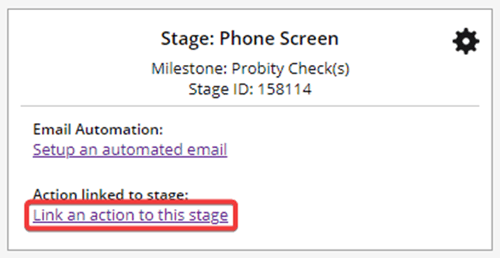
To link an action to a stage such as completing a form, sharing candidates, or starting a reference check, click on ‘Link an action to this stage’.
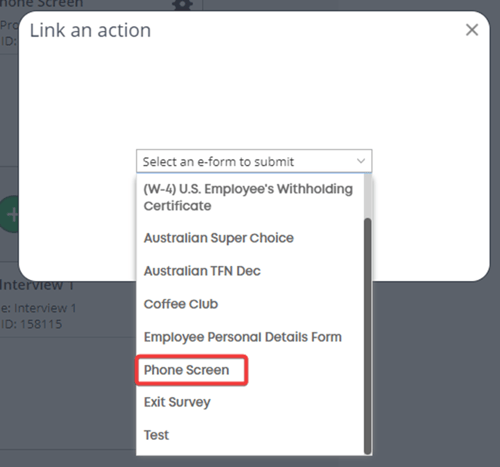
Then select an action. In this example of phone screen, this would be a form to complete, so choose ‘Complete an e-form’.

Select the phone screen form that you made.
Choose ‘Yes’ to continue.

Once done, click on the X on the top right.

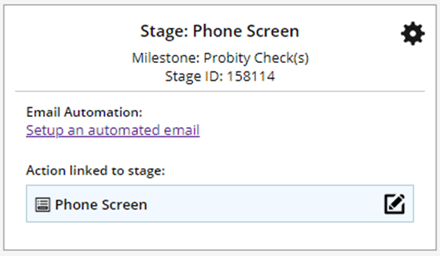
Now the phone screen form is linked to this stage, so when a candidate is moved here the form will appear and you can complete it while calling the candidate.
This will be the same for reference checks, however, you will see another option ‘is manually complete’ once it has been linked.

By default, it is left unticked. When a candidate is moved to this reference check stage, they will receive the reference check form automatically. Otherwise, if you tick the option, you can complete the reference check form on their behalf.
